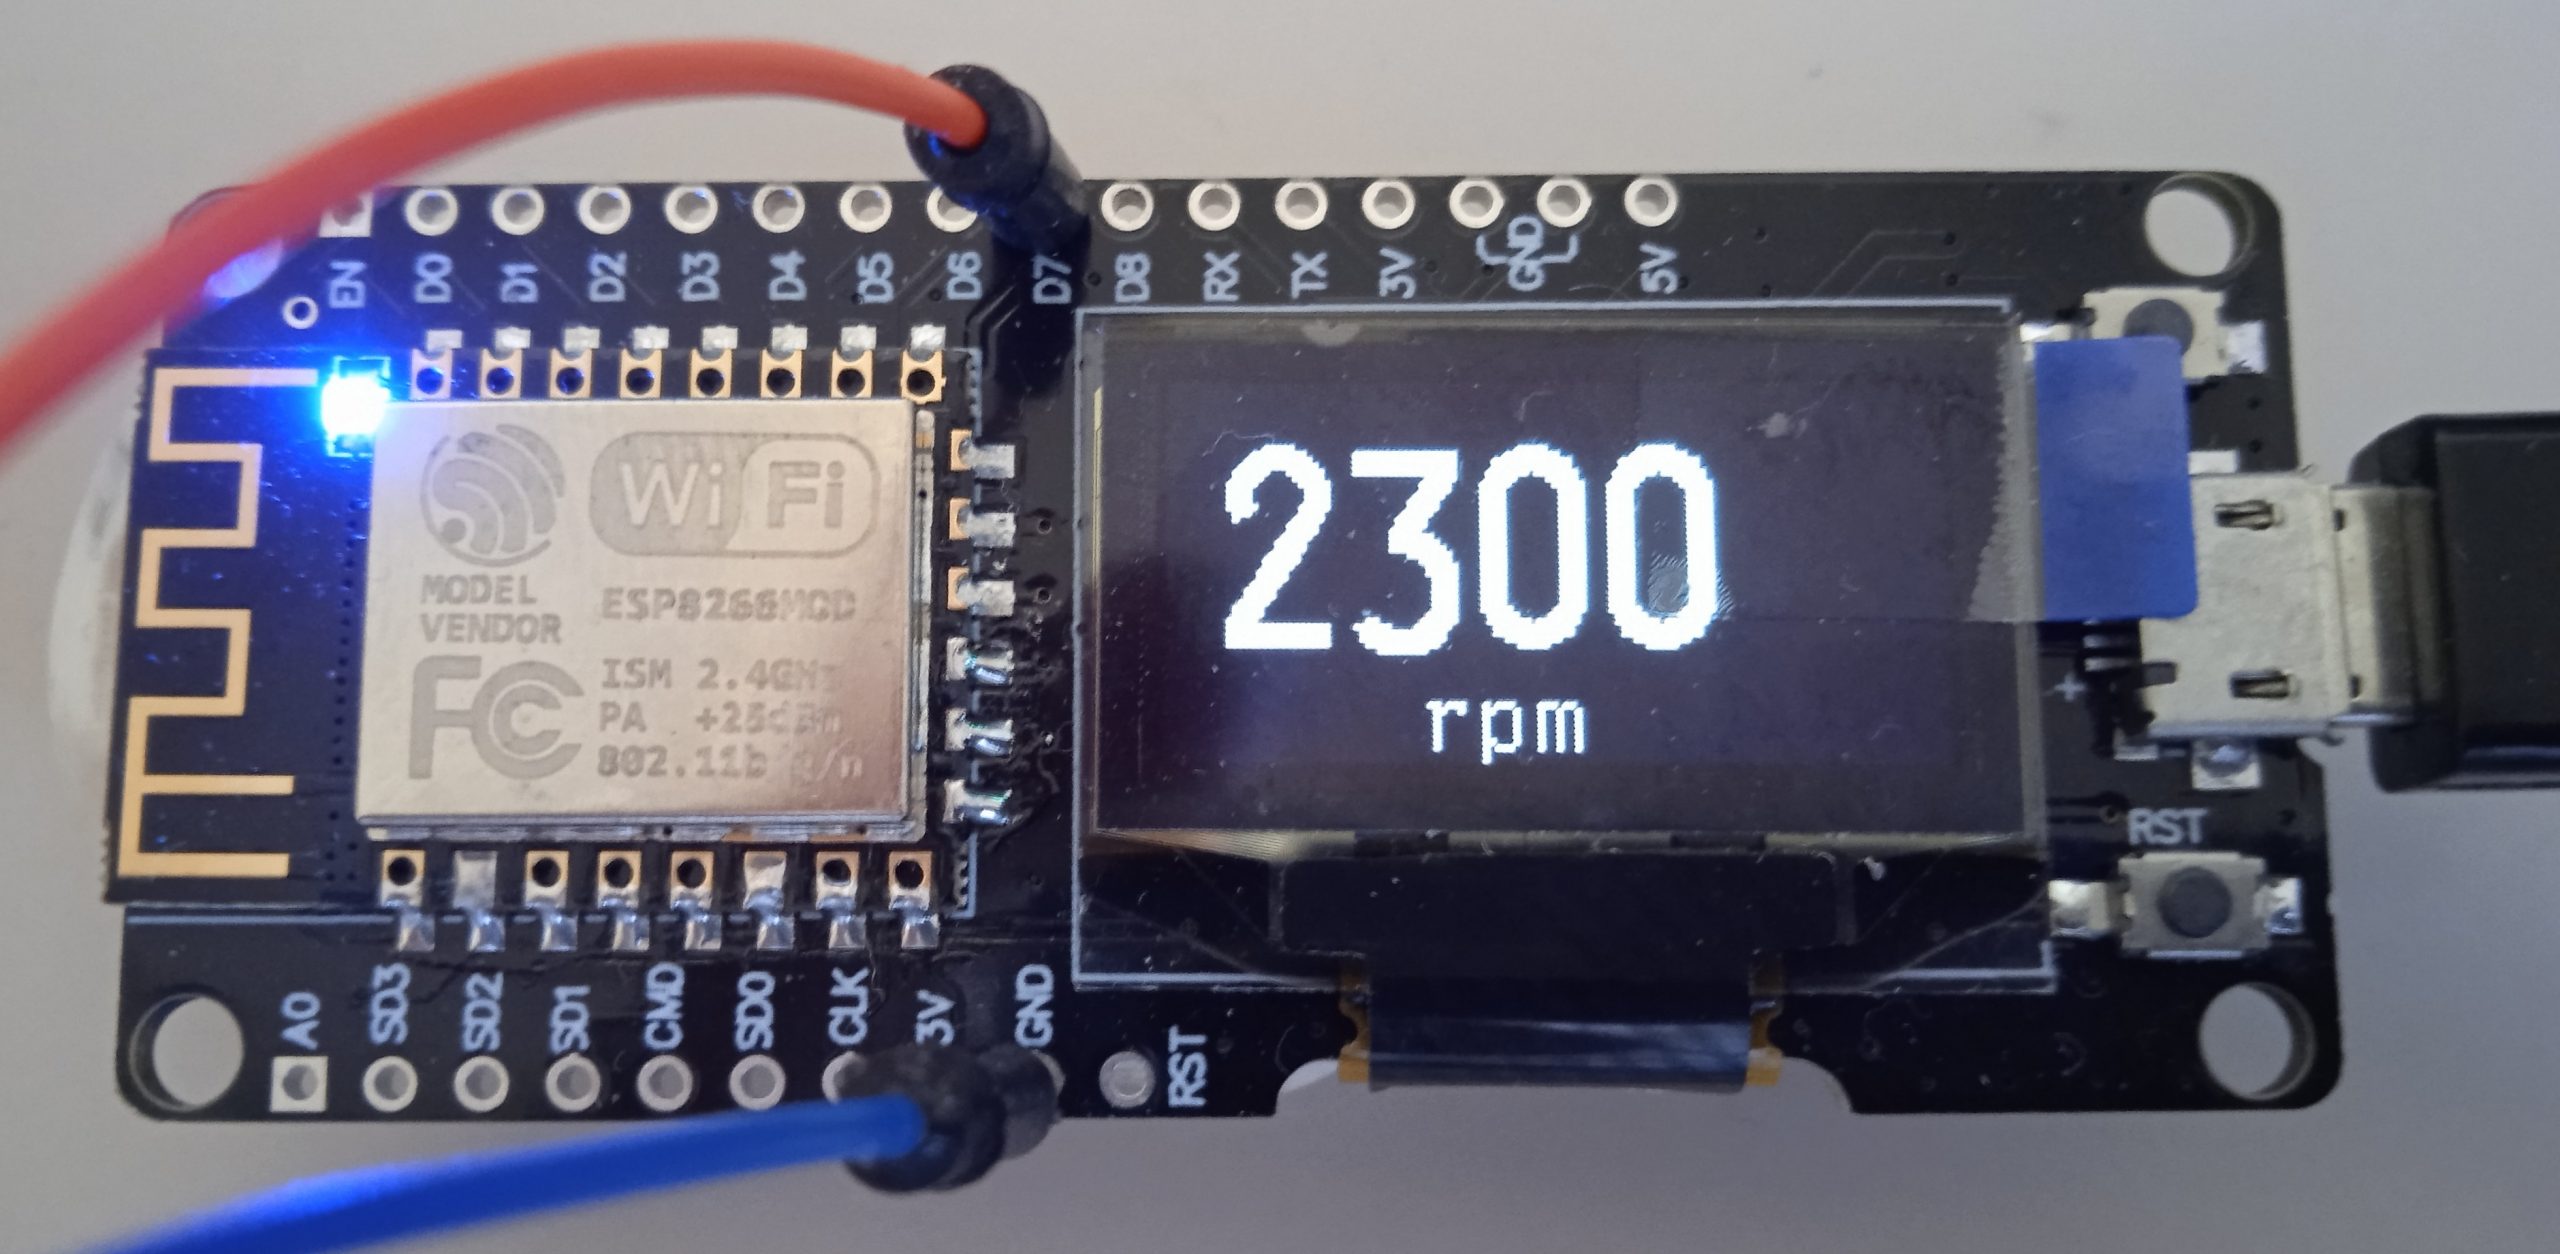
Digital RPM Meter with fancy features.
RPM are displayed every 0.2 to 1 second (selectable) and also available on a USB connector.
Connect the Tachometer to any Windows, Linux, Mac computer throughout a USB connection and terminal console to collect real-time RPM measures for further analysis on the long run.
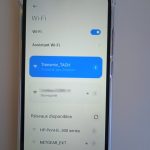
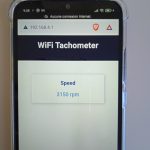
or choose to displayed RPM on a remote device throughout WiFi.
Features
- Display from 50 to 11000RPM with 10 RPM resolution
- For 2 strokes (1 pulse per revolution) or 4 strokes (2 pulses per revolution).
- For 1,2,3,4,5,6,8 cylinders even more if spark detection is captured on cylinder 1.
- Compatible with any ECU tachometer output.
- Tach Input. Voltage range +5v to +50 V.
- Compatible with any Duty Cycle from 20% to 80%
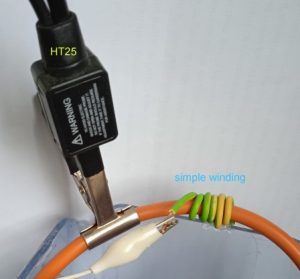
- Inductive sensor input (A simple wire wrapped around the sparkplug lead).
- Signal conditioning.
- Adjustable Refresh Rate: 0.2sec to 1sec.
- RPM values also available on the Micro USB Type B Port, at 115.200 Baud 8N1
- Compatible Windows, Linux, Mac
- 0.96 Oled 2 lines display.
- WiFi display of RPM values on any browser @ http://192.168.4.1
- 1 input status LED.
- 1 Pushbutton for Setup.
- 1 Pushbutton for Factory Reset.
- User choices are memorized.
- Power Supply 9 to 35 Vdc behind a fuse.
- Consumption : 0.1W.
- Internal regulated power supply.
- Dimensions: 72 x 55 x 20 mm/ 2.8 x 2.2 x 0.8 in.
- 3 months warranty
- Weight: 50g / 0.1 lbs
SPARK DETECTION.
Use a INDUCTIVE probe or just 3 to 6 turns around the sparkplug wire.
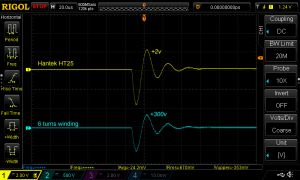
If the signal is weak, then add one wrap at a time until the signal is clear.
Signal strength is proportional to the number of wraps but too many will bring parasitic noise and give faulty readings.
Below the comparison between Capacitive probe HT25 (DOESN’T work!) and Inductive probe (wiring) that works.
INPUTS.
Connect ECU tachometer output to “TACH” input on the PCB.
Close left solder pad for signal less then +5v.
Close right solder pad for signal less then +50v and adjust the sensitivity.
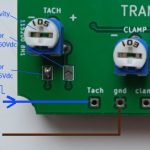
or connect a wire wrapped around the HT lead to “Clamp” input on the PCB and adjust the sensitivity
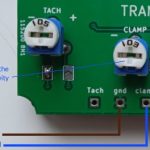
SETUP.
PHOTOS.
Wifi Display on an Android Phone:
 |
|  |
| 